


Drafting, Pencilling, and Inking
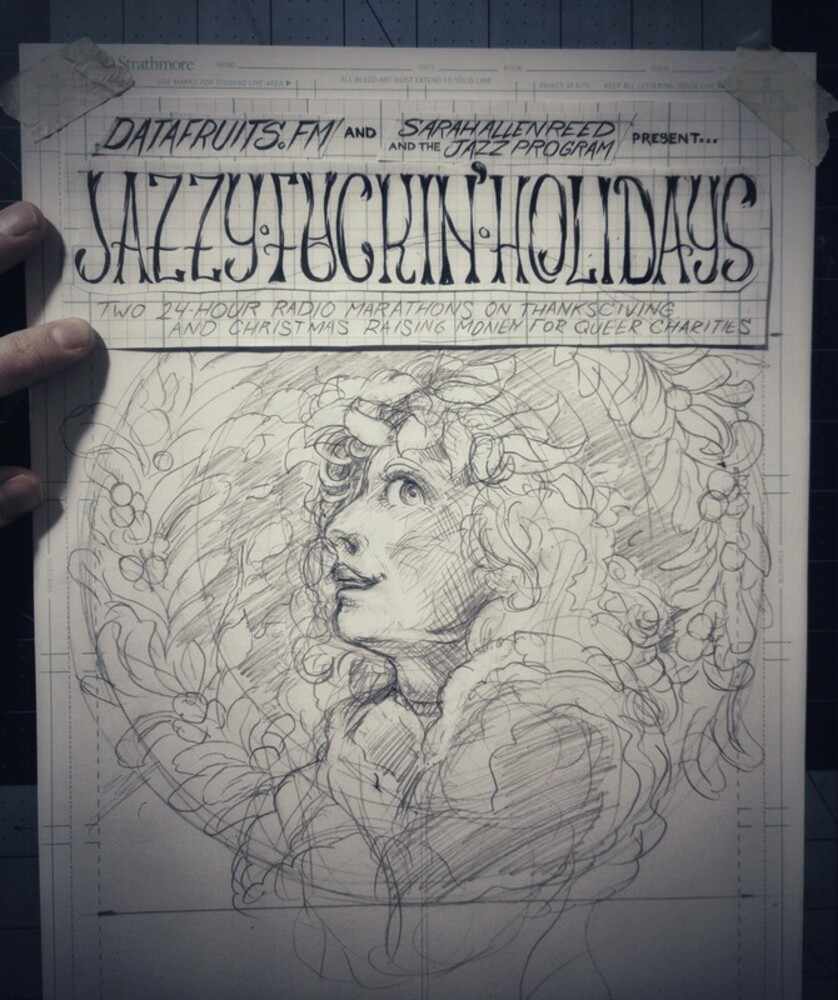
Starting in on pencils. The lettering and all that was done (as always) on graph paper and glued up as I went; for a more in-depth look at how I do that, check out this process thread.
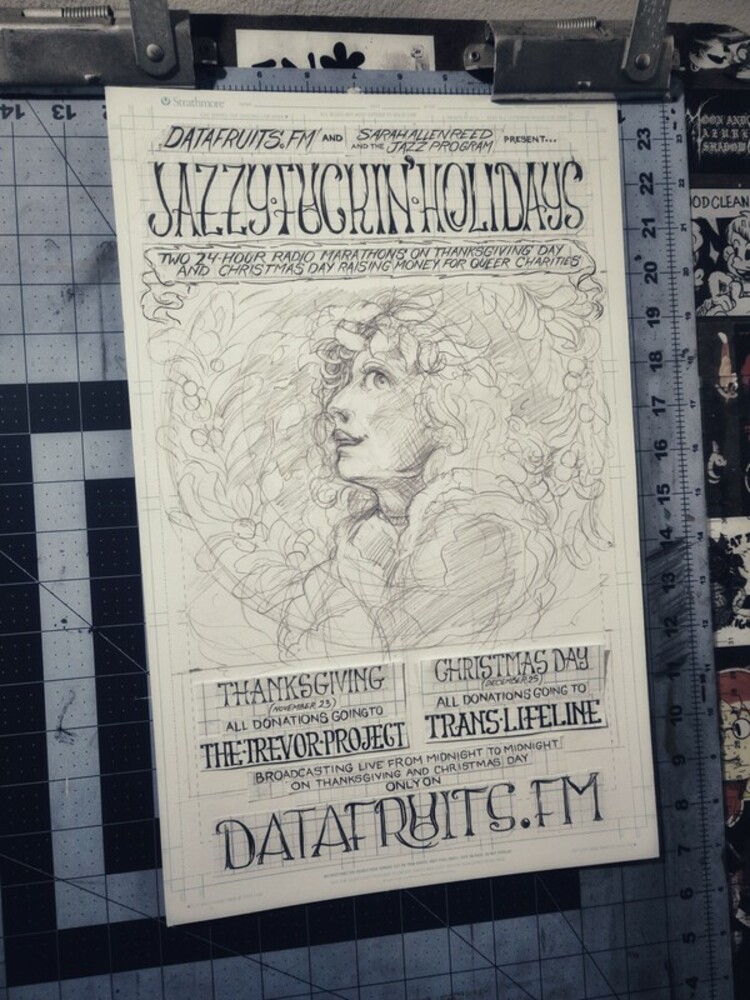
Here's the rest of the lettering, glued up and into place.
Starting in on inks.
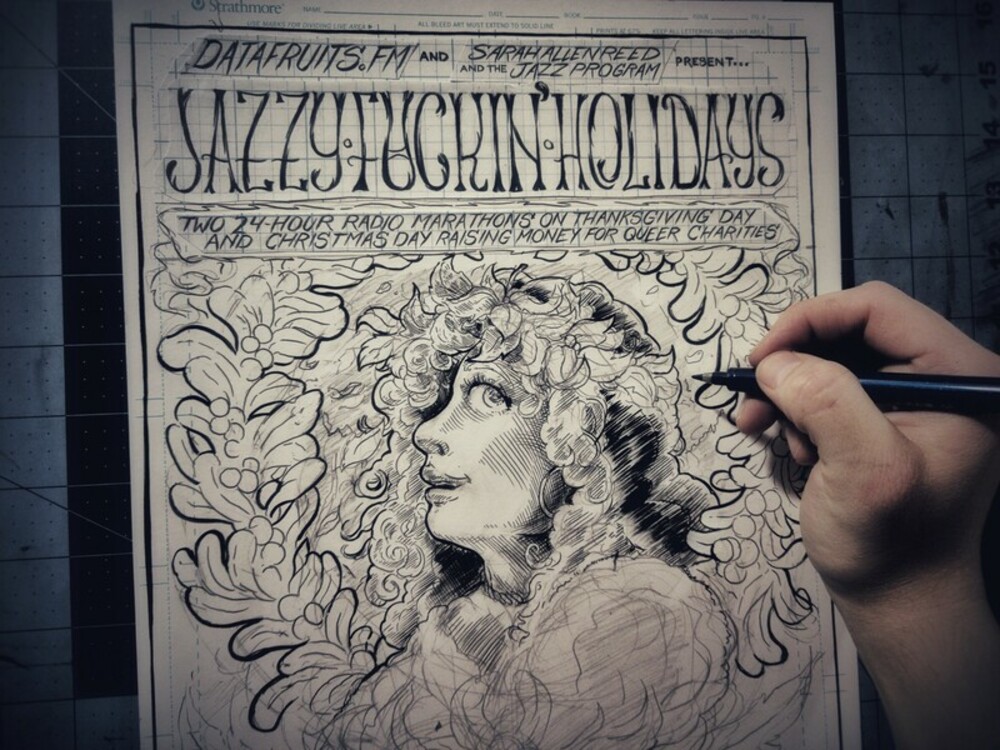
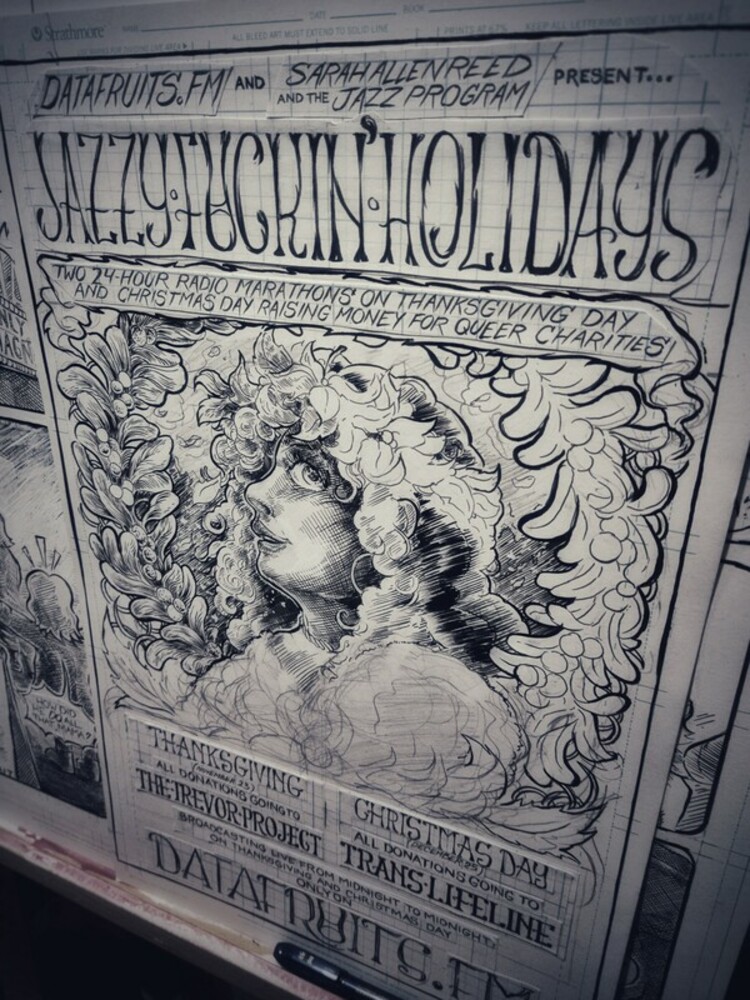
Two passes later. I was originally going to black the entire poster's background out, but I decided to sketch in some variations in tone for the sky and trees as opposed to simply a blacked-out sky covered in snow.
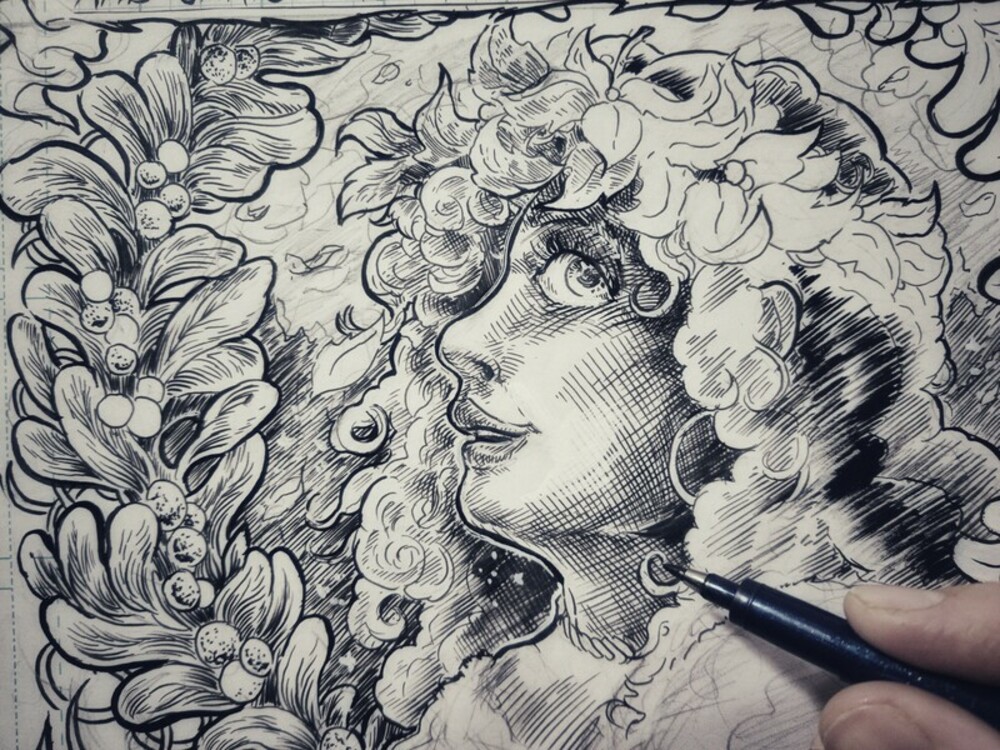
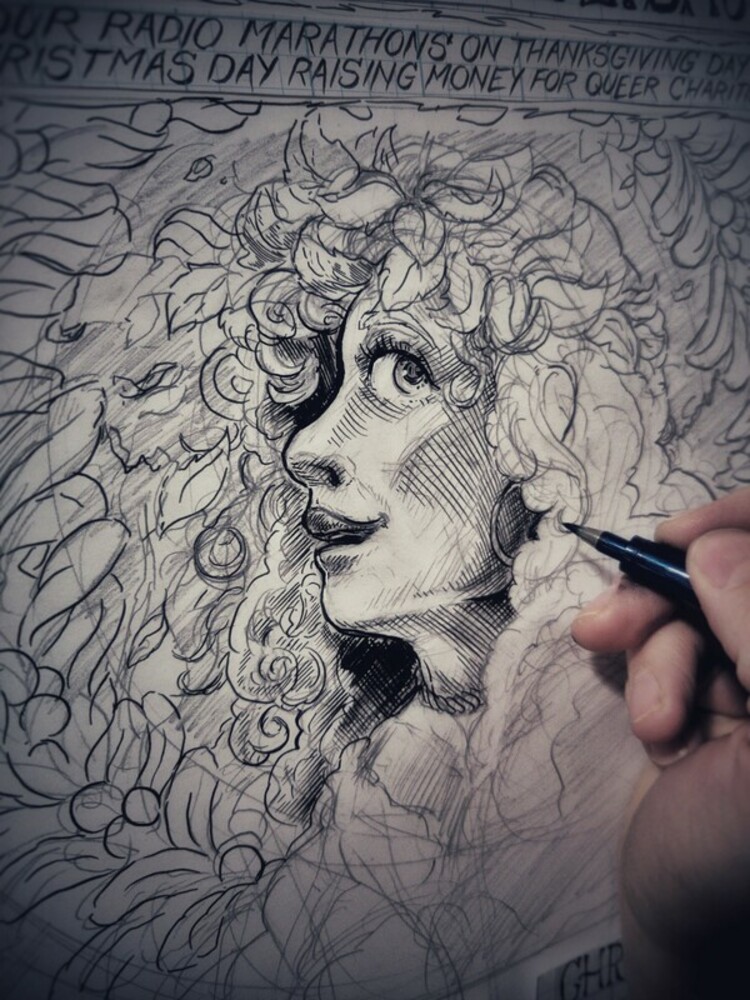
Here's the third or fourth pass (I can't remember which), showing me blocking in the first bit of tone for the trees, as well as the details in the wreath and the mirrored directional patterns in the figure's hair.
The poster on the corkracks, with some pages of Our Lady Maven behind it.
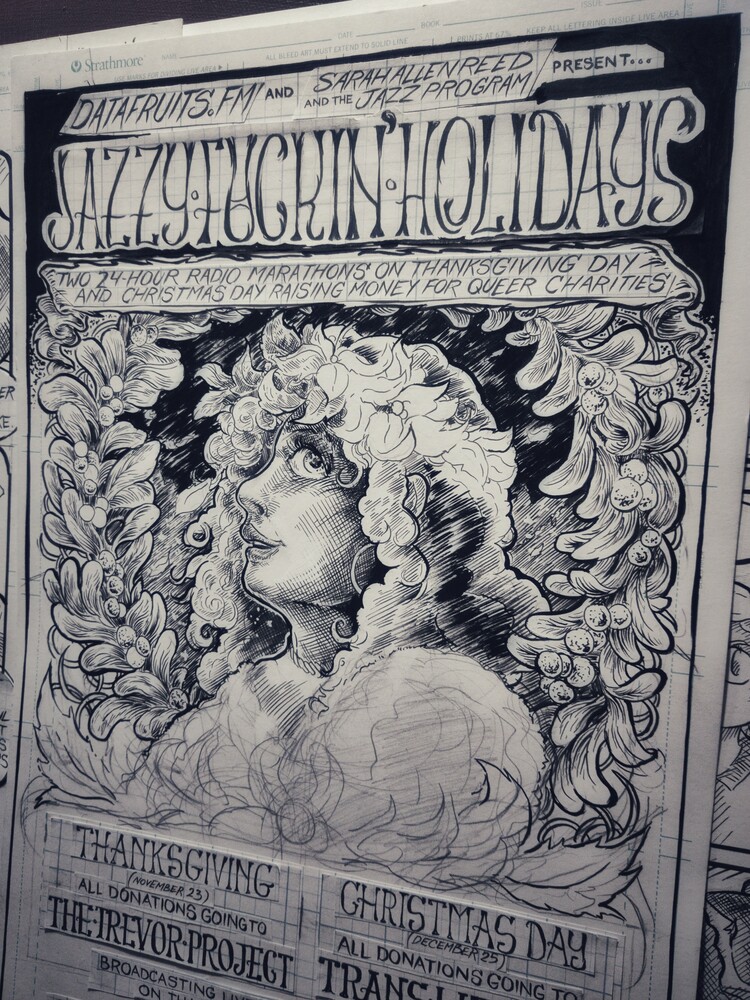
Starting to black out the top and bottom portions.
Fading the bottom in.
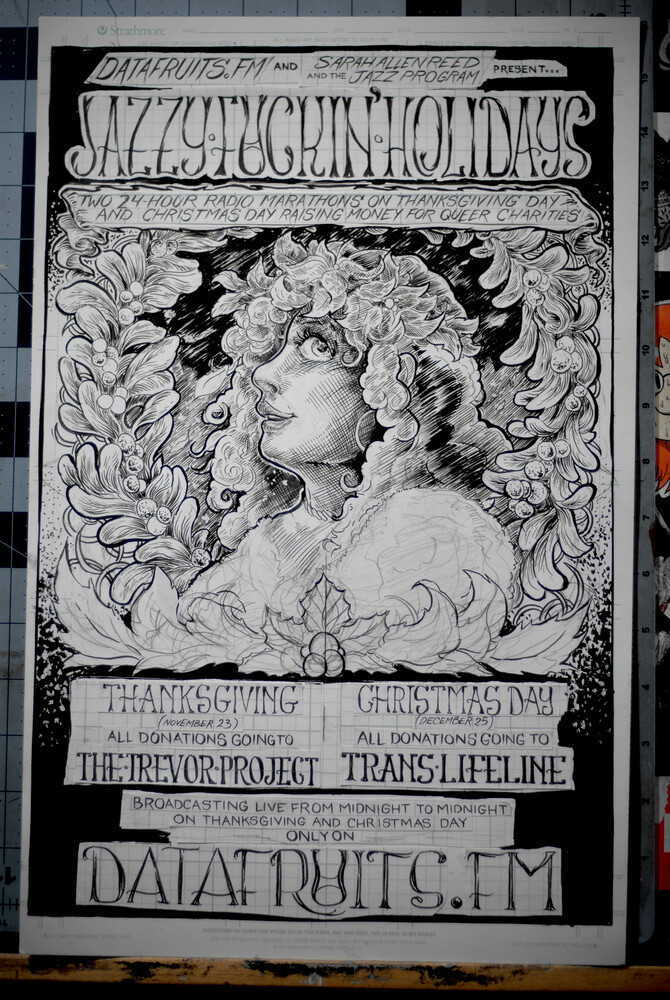
And, seven or eight passes later, here we are! On to colors.
Digital Color
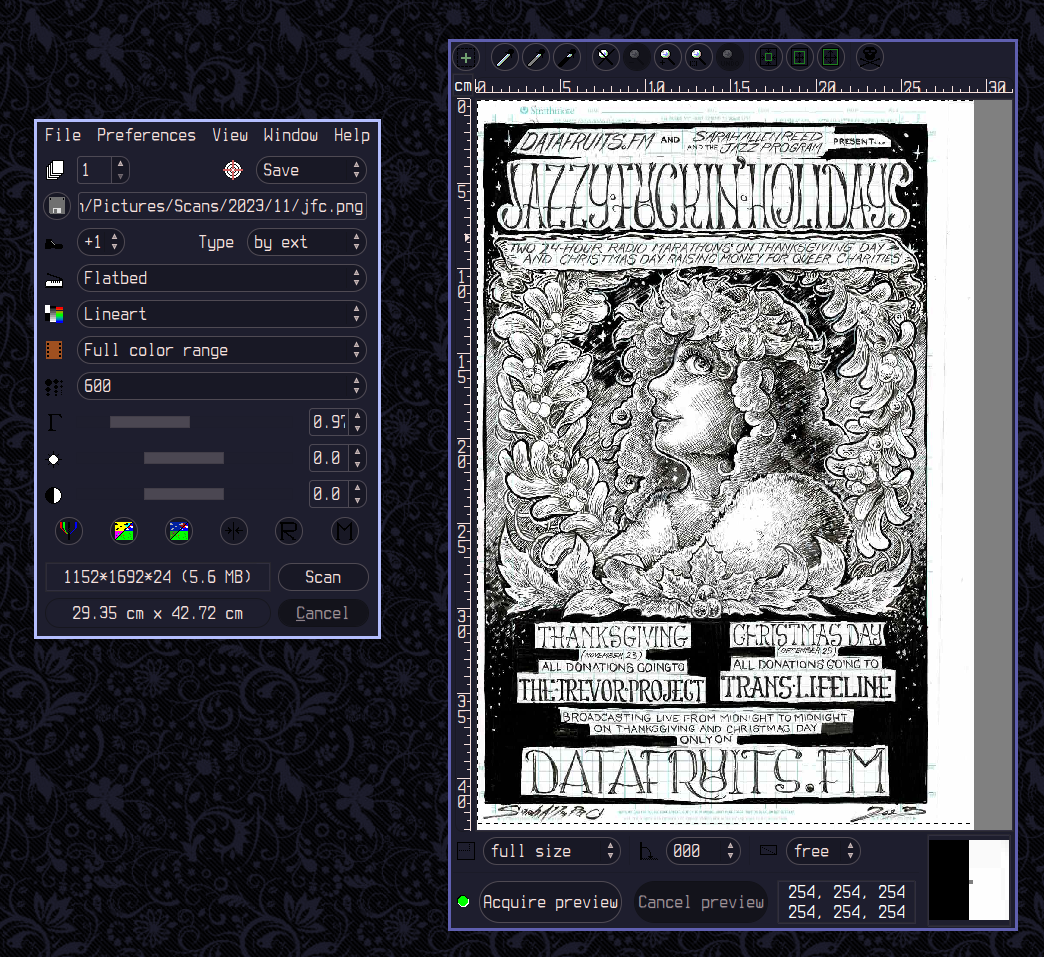
Scanning 'er in. I had to re-install CUPS on this particular install after my computer decided to shit the bed a month or so prior, and to say I had an lovely time with it that encountered zero bugs or other problems is, of course, an understatement. Here's me testing Xsane for the first time on this install.
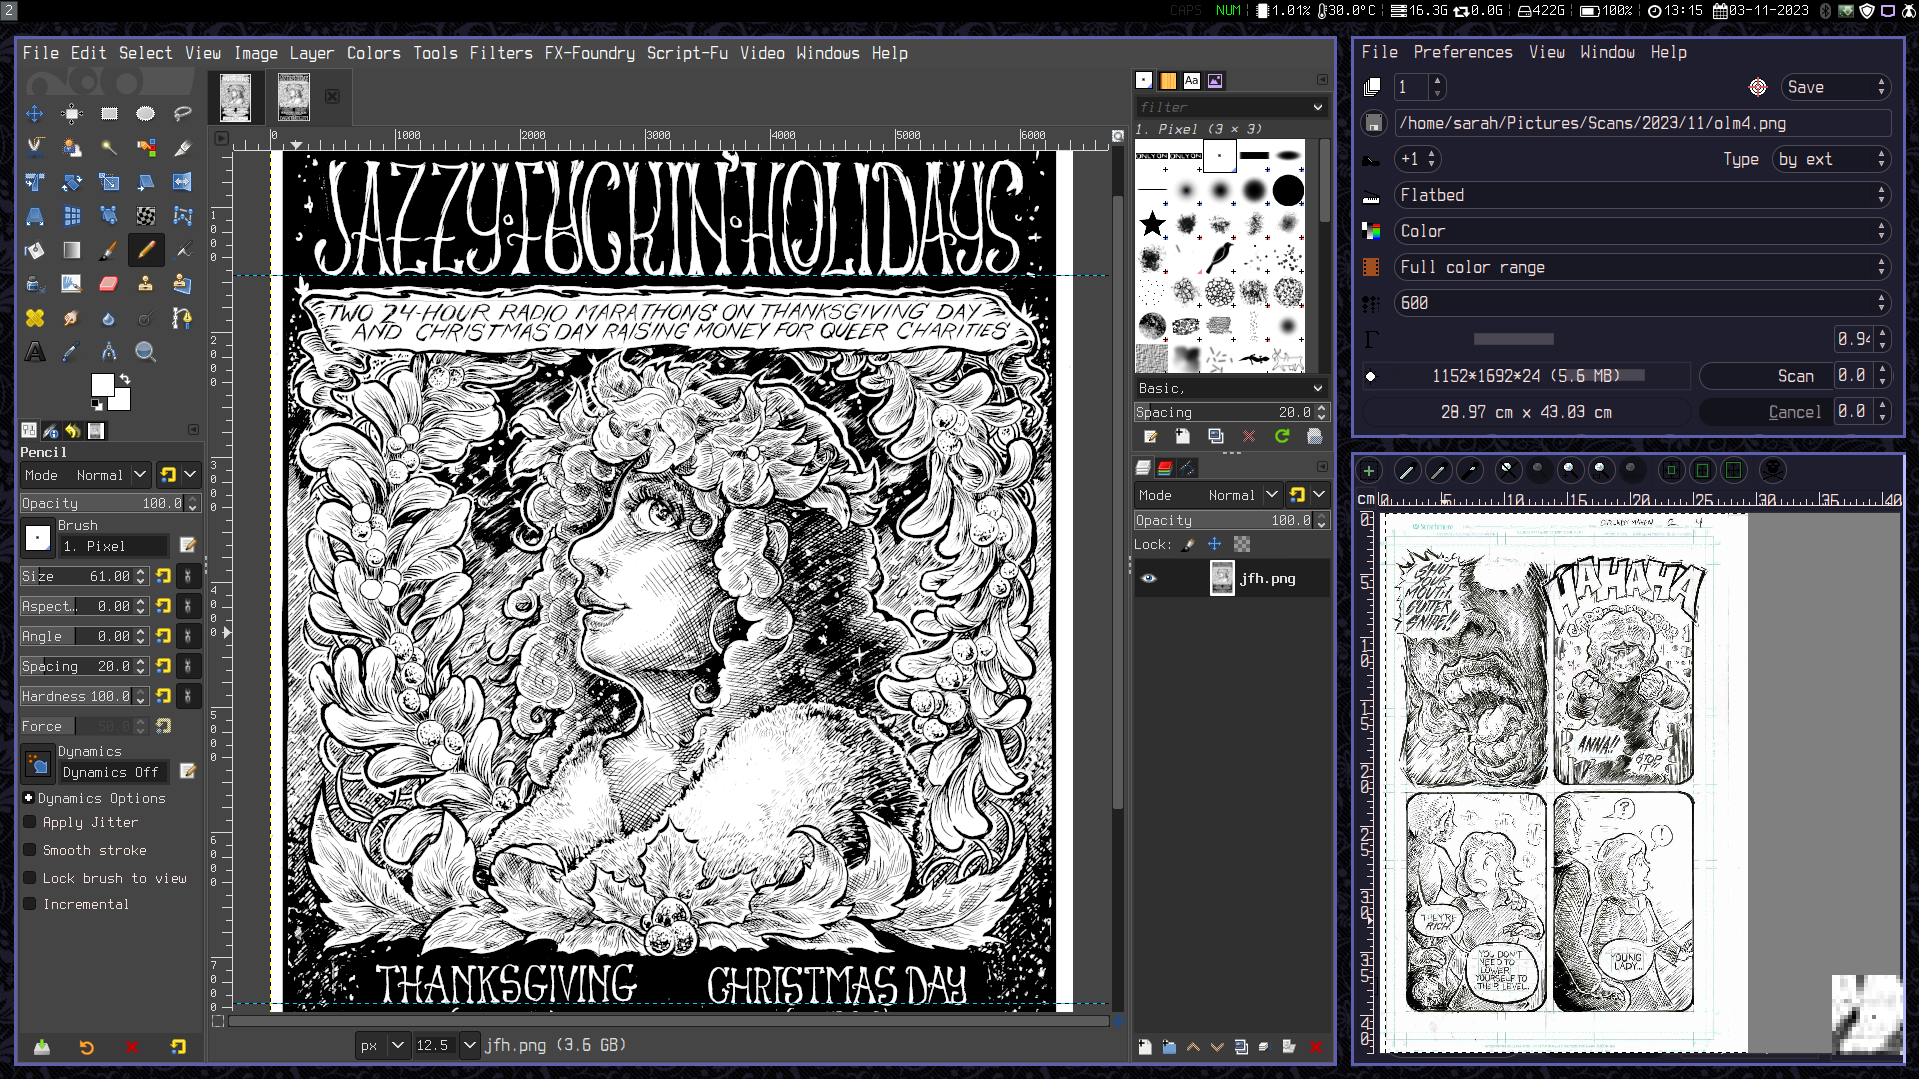
Scanning Our Lady Maven pages while I tweak the contrast on the scan.
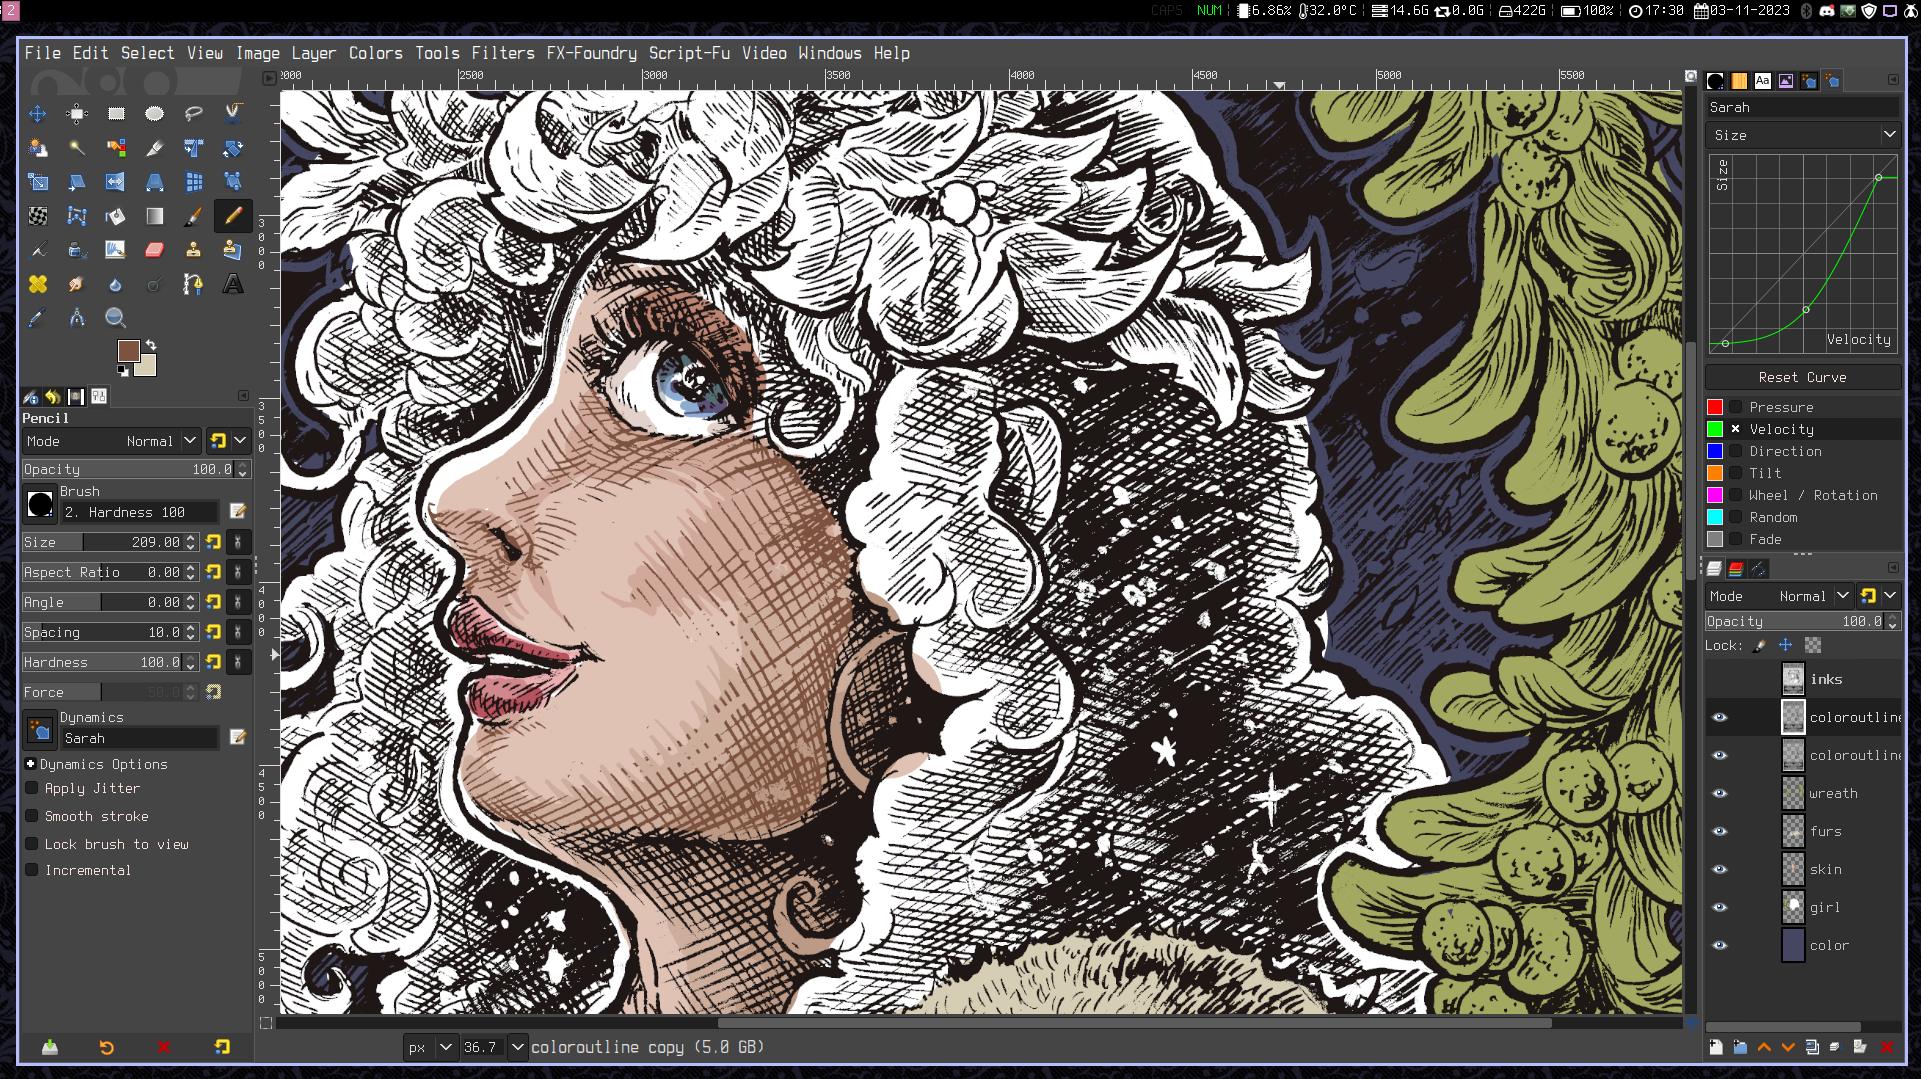
First layers of color. Note that the linework is on multiple instances of its own layer. Eventually, we'll end up with three--one of which will be the original black inks, one of which will be the base colored inks (usually an off-black, either blue or brown) and the third of which will be for colored outlines to blend the linework in with blocks of tone.
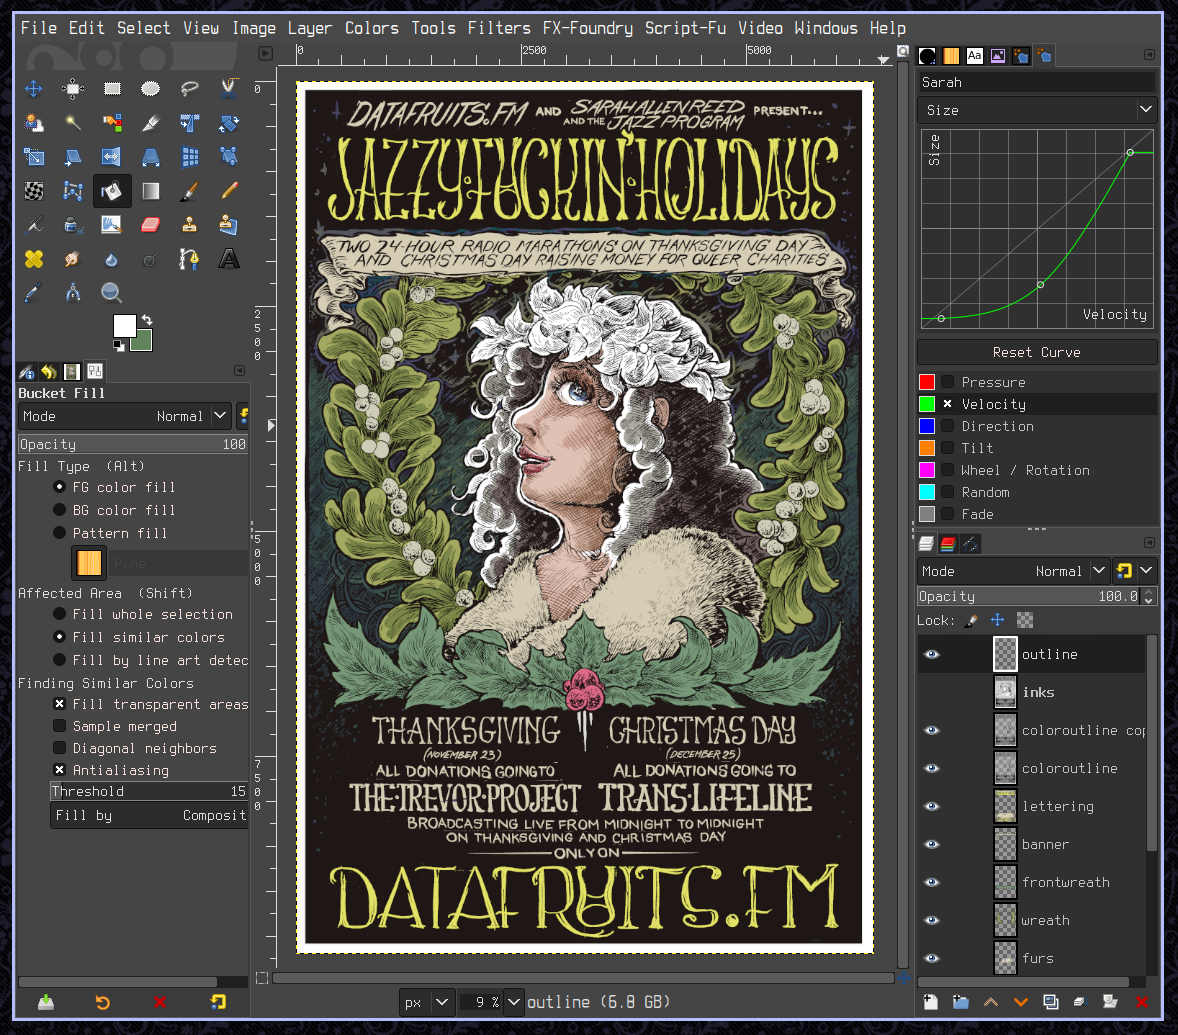
First flats down.
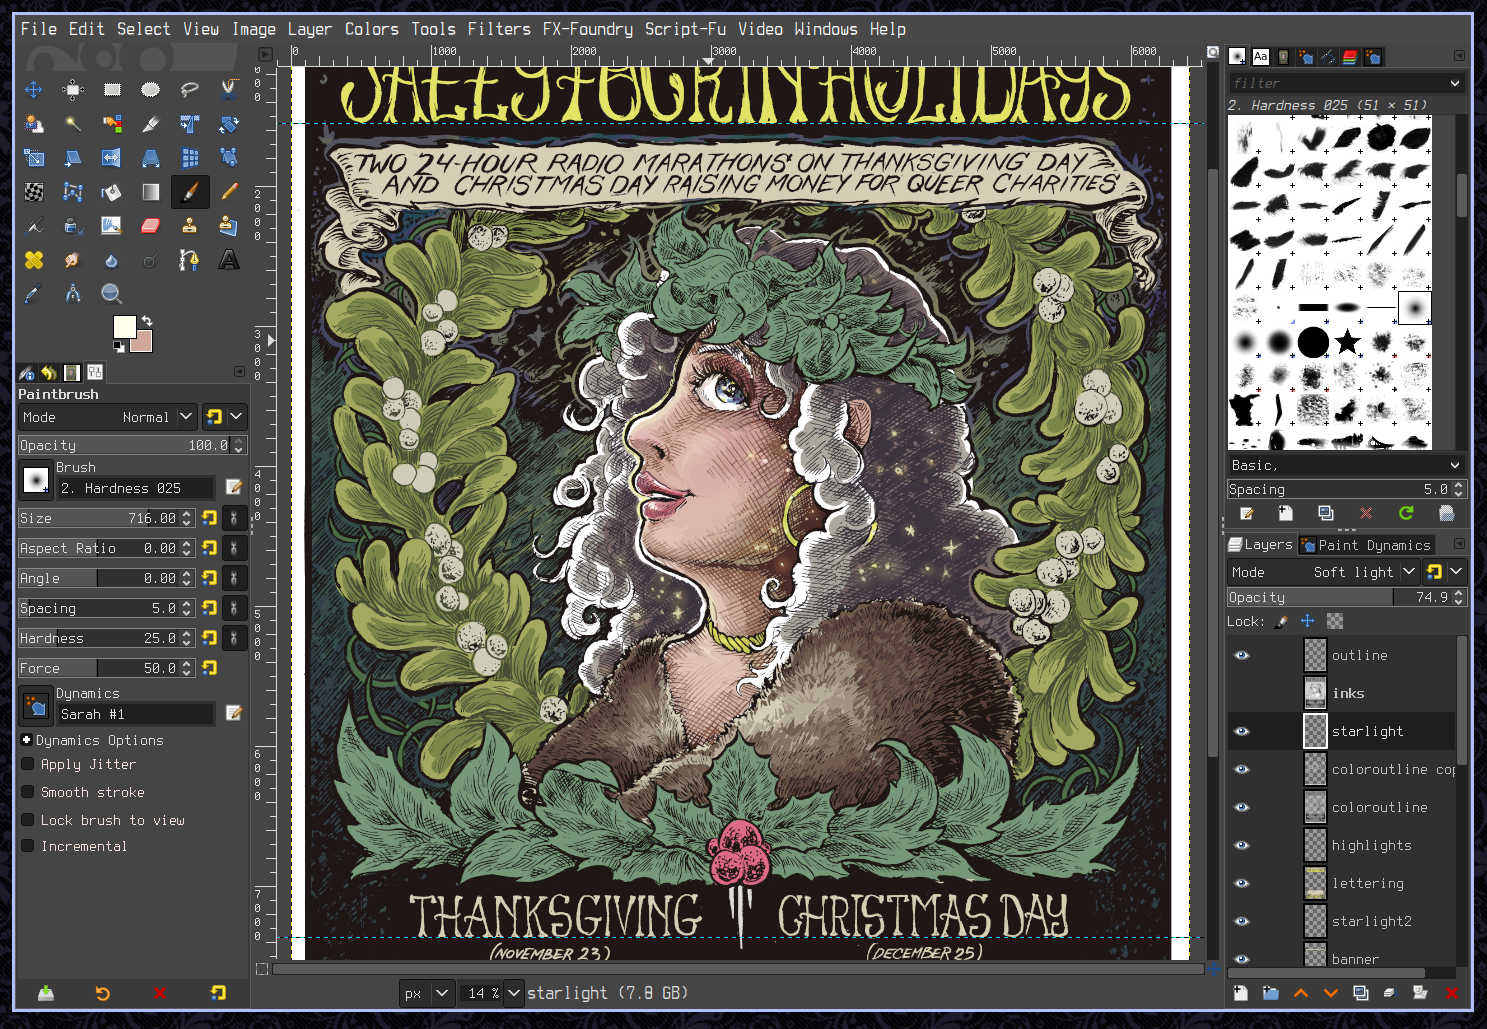
More passes. I've colored in some of the linework inside of the major compositional shapes to match/blend into the shading itself, and started layering shading.
The results after a couple nights' worth of work.
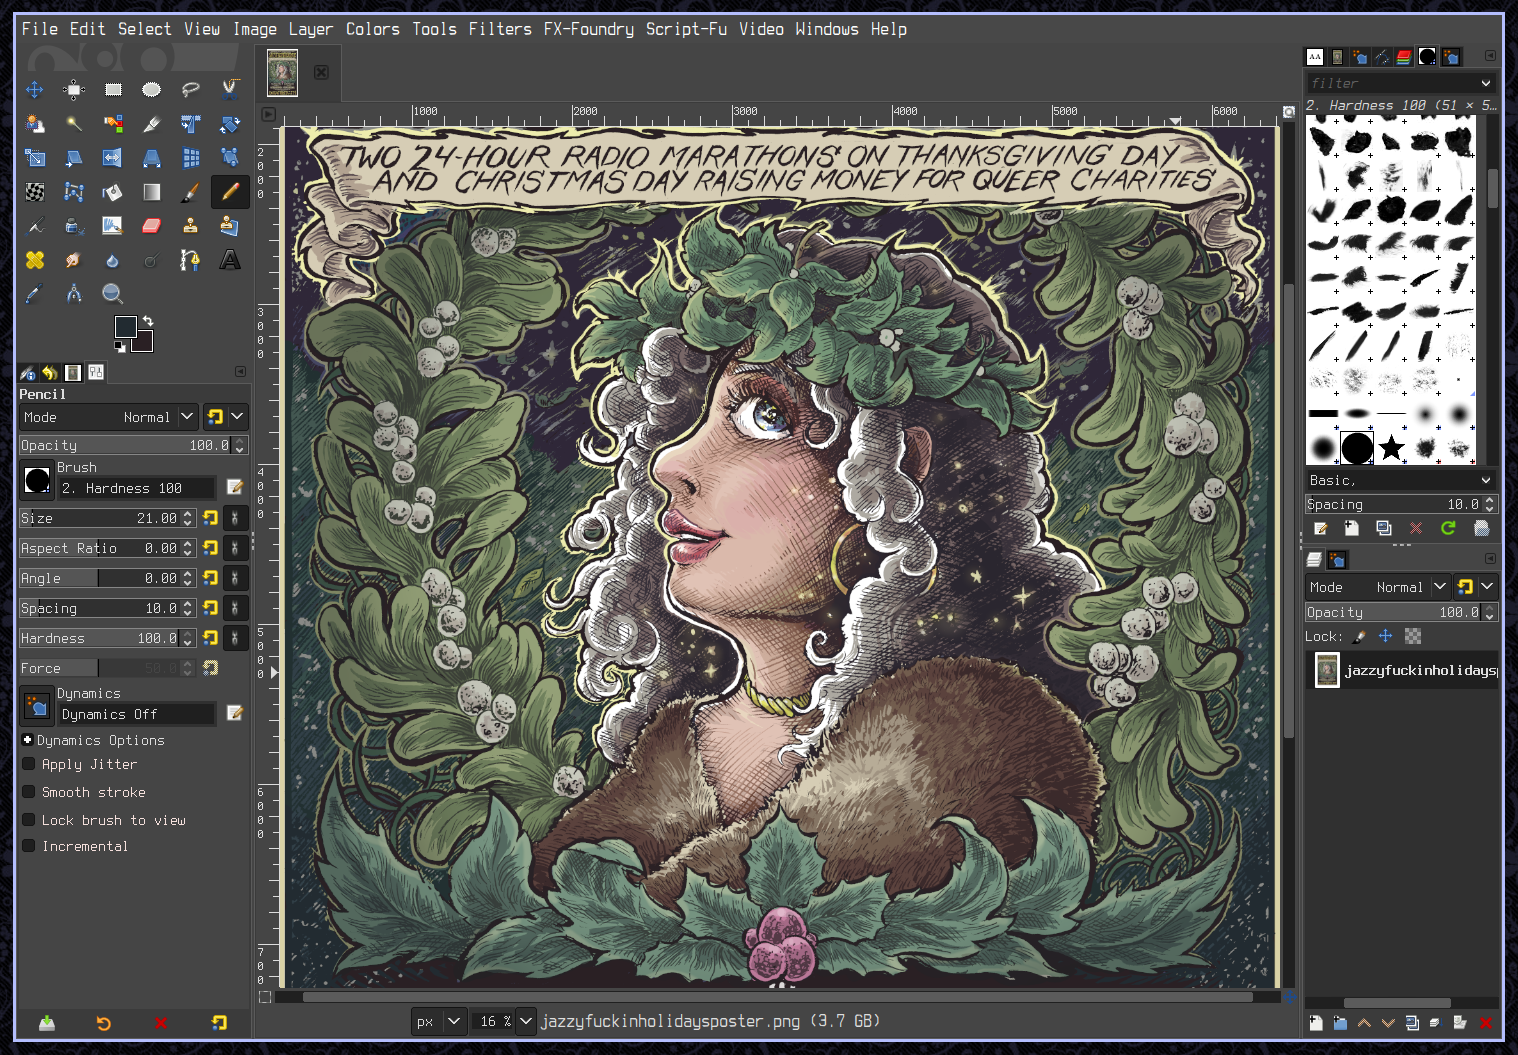
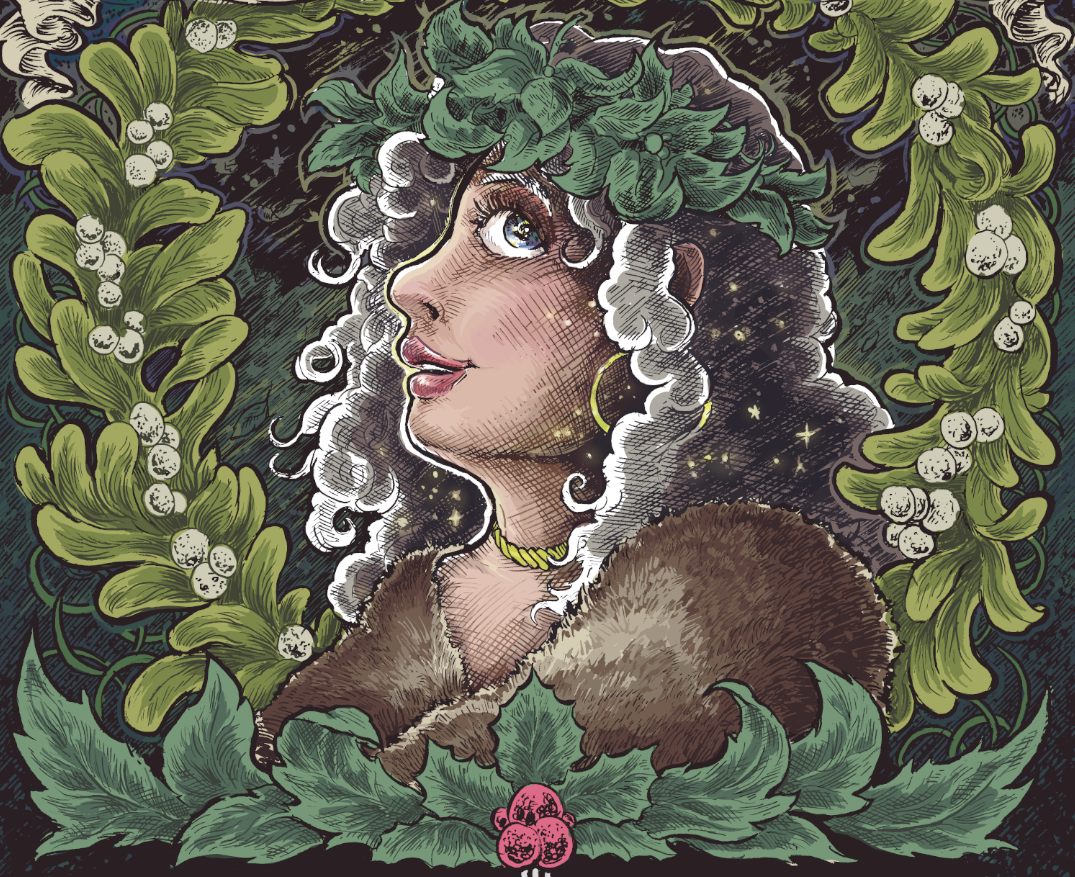
Almost at the end here; all that remains is to clean up the linework and fix minor errors.
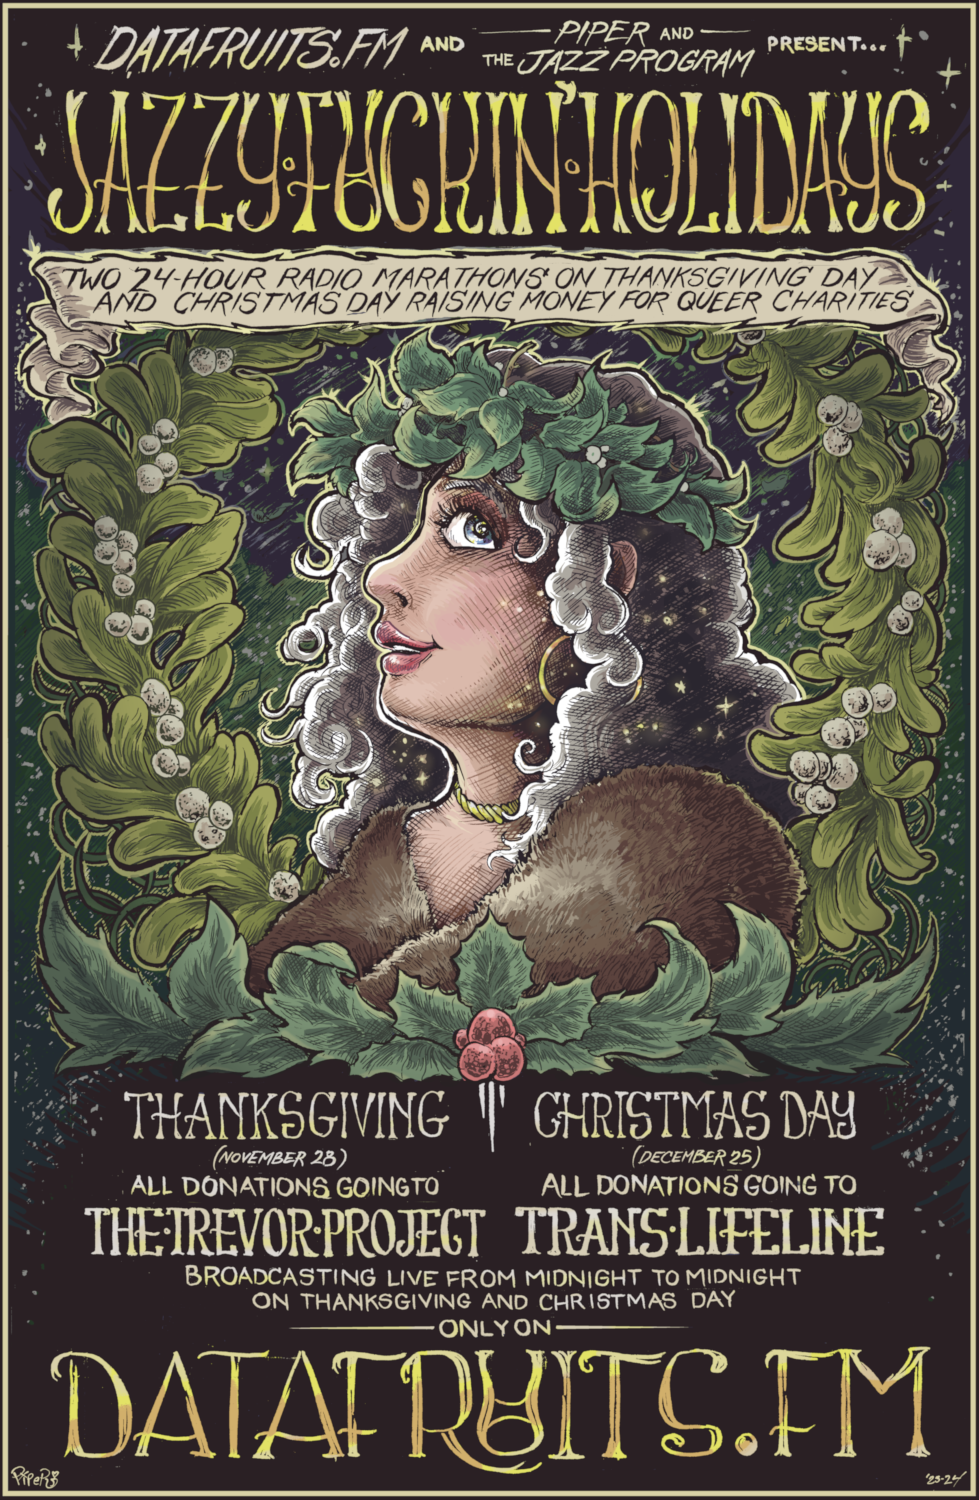
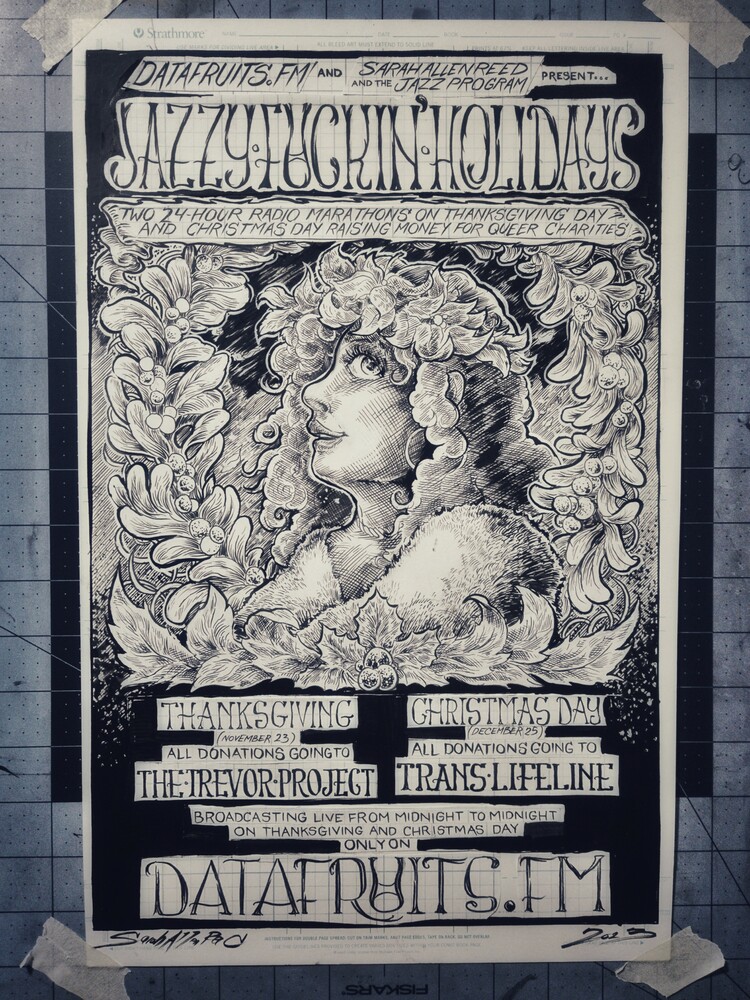
And here we are--the final poster!